

 www.pinterest.com
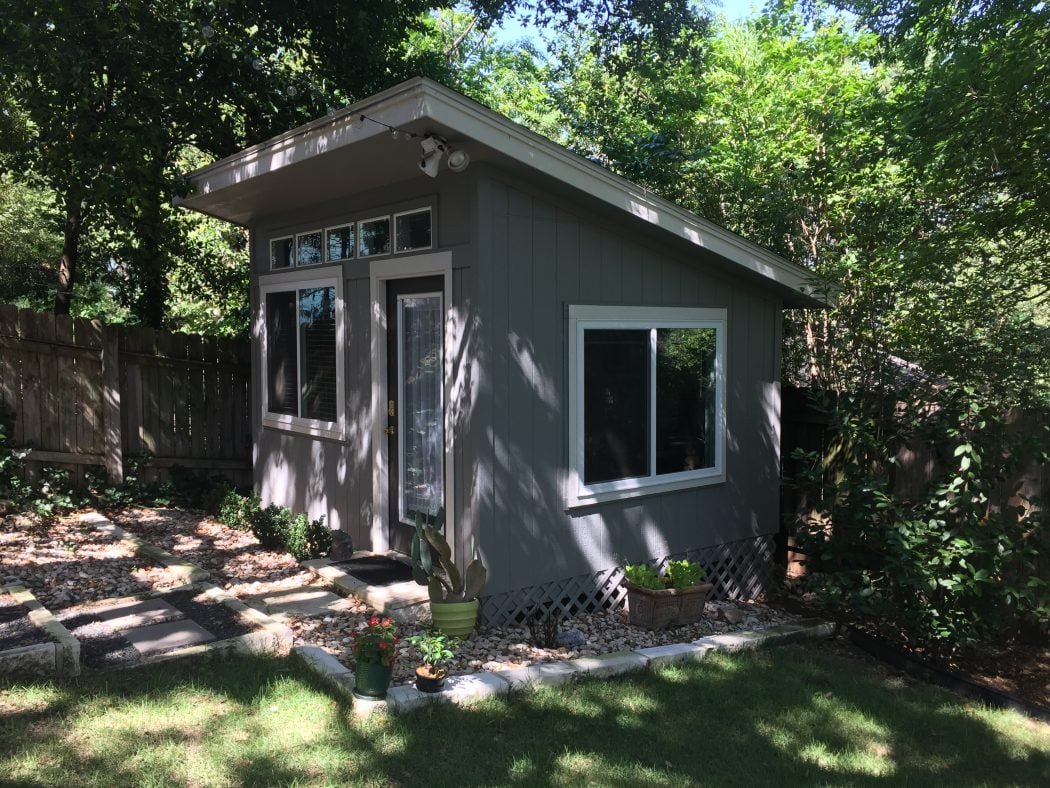
 Opening: Dream Big, Build Bigger: Your DIY Tuff Shed Premier Pro Studio Journey Ready to transform your backyard into a creative oasis or a productive workspace? This guide will take you through the process of building your own Premier Pro Studio, inspired by Tuff Shed's design, but tailored to your DIY skills and preferences. We'll cover everything from planning and materials to construction and finishing touches. Let's get started!
Step 1: Planning and Preparation Before you even think about hammering a nail, meticulous planning is crucial. Permits and Regulations: Check with your local building department for any required permits or regulations related to shed construction. Ignoring this step can lead to costly fines and delays. Size and Location: Determine the ideal size of your studio based on your needs and available space. Consider sunlight exposure, drainage, and proximity to your house. Mark the footprint of the shed on your property. Foundation: Decide on the type of foundation you'll use. Options include a concrete slab, gravel pad, or pier blocks. A solid foundation is essential for the stability and longevity of your studio. Design and Blueprint: Create a detailed blueprint or plan for your studio. Include dimensions, window and door placements, framing details, and roofing specifications. Online resources and software can help you with this step. Consider features of the Tuff Shed Premier Pro Studio like large windows, ample height, and a robust framing system.
Step 2: Gathering Materials Once you have a solid plan, it's time to gather your materials. Create a comprehensive list and source them from reputable suppliers. Lumber: Purchase lumber for framing (2x4s, 2x6s, etc.), sheathing (OSB or plywood), and roofing (trusses or rafters). Choose pressure-treated lumber for ground contact. Roofing Materials: Select roofing shingles, metal roofing, or another material that complements your home and offers good weather protection. Siding: Choose siding materials like wood siding, vinyl siding, or composite siding. Consider aesthetics, durability, and maintenance requirements. Windows and Doors: Select windows and doors that fit your design and budget. Ensure they are energy-efficient and weather-resistant. Insulation: Purchase insulation for the walls, ceiling, and floor to create a comfortable and energy-efficient studio. Fasteners: Gather nails, screws, bolts, and other fasteners required for construction. Tools: Make sure you have all the necessary tools, including a saw, drill, level, measuring tape, hammer, and safety equipment.
Step 3: Building the Foundation The foundation is the base upon which your studio will stand. Concrete Slab: If you're pouring a concrete slab, prepare the site, build forms, pour concrete, and allow it to cure properly. Gravel Pad: For a gravel pad, excavate the area, compact the soil, and spread a layer of gravel. Pier Blocks: For pier blocks, dig holes, set the blocks, and level them. Ensure the foundation is level and stable before proceeding.
Step 4: Framing the Walls Now it's time to build the walls of your studio. Wall Framing: Construct the wall frames using 2x4s or 2x6s, following your blueprint. Ensure the frames are square and plumb. Window and Door Openings: Frame the openings for windows and doors, providing adequate support. Wall Sheathing: Attach sheathing to the wall frames, providing structural support and a surface for siding. Raising the Walls: Carefully raise the wall frames and secure them to the foundation. Use temporary bracing to keep them in place.
Step 5: Constructing the Roof The roof is crucial for protecting your studio from the elements. Roof Trusses or Rafters: Install roof trusses or rafters according to your design. Ensure they are properly spaced and secured. Roof Sheathing: Attach sheathing to the roof trusses or rafters, creating a solid surface for roofing. Roofing Underlayment: Install roofing underlayment to protect the sheathing from moisture. Roofing Material: Install your chosen roofing material, following the manufacturer's instructions.
Step 6: Installing Siding, Windows, and Doors Enclose the studio by installing siding, windows, and doors. Siding Installation: Install siding according to the manufacturer's instructions. Ensure proper overlap and secure fastening. Window and Door Installation: Install windows and doors, ensuring they are properly sealed and weather-resistant. Trim: Add trim around windows, doors, and corners for a finished look.
Step 7: Insulation and Interior Finishing Create a comfortable and functional interior space. Insulation: Install insulation in the walls, ceiling, and floor to regulate temperature and reduce noise. Interior Walls: Install drywall or paneling to create interior walls. Flooring: Install flooring, such as laminate, hardwood, or carpet. Electrical and Plumbing: If you're adding electrical or plumbing, hire qualified professionals to do the work.
Step 8: Finishing Touches Add the final touches that will make your studio unique. Painting: Paint or stain the interior and exterior of the studio. Landscaping: Add landscaping around the studio to enhance its appearance. Furniture and Decor: Furnish and decorate the studio to create a space that meets your needs. Consider a desk, storage, and comfortable seating.
Conclusion: Your Dream Studio, Realized Congratulations! You've successfully built your own Premier Pro Studio-inspired structure. With careful planning, dedicated effort, and attention to detail, you've created a functional and inspiring space that will serve your needs for years to come. Enjoy your new creative haven!
Premier Pro Studio Tuff Shed
 osegirls.weebly.com
 Premier Pro Studio Modern
www.pinterest.com Premier Pro Studio From Tuff Shed #costtobuildashed
 www.pinterest.com

